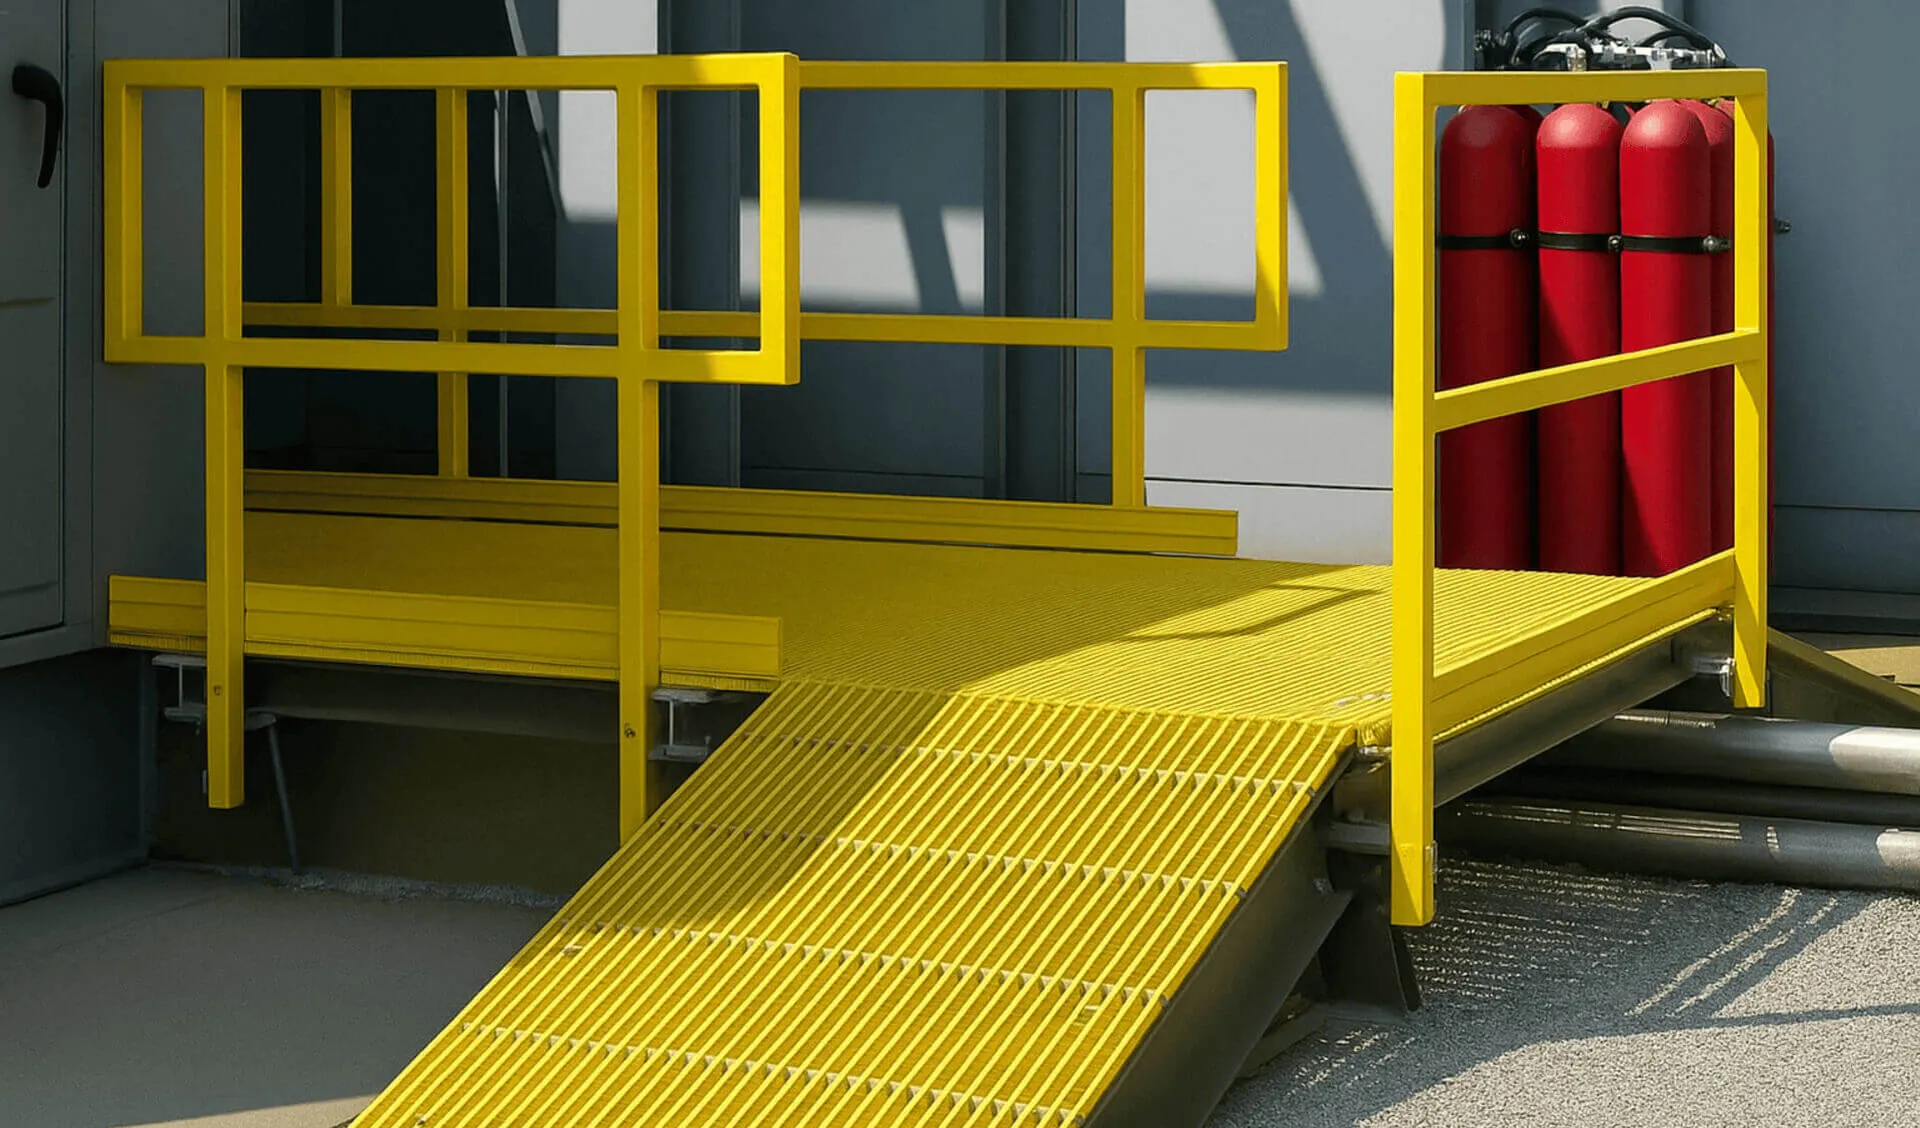
An FRP grating is only as safe as the way it is fixed down. The load tables in any grating catalogue assume the panels are properly supported and clamped. A loose panel can shift, rattle, lift at the edges or leave a step at the joint that trips someone. This guide covers how to install and clamp FRP gratings correctly, using the hardware Rawji Exports supplies with its panels.
Before you start: check the supports
- Measure the clear span between supports and check it against the load table for the panel you are using. The maximum recommended load drops quickly as the span increases.
- Check that the supports are level, so every panel bears evenly and adjacent panels finish flush.
- Pultruded gratings carry load in one direction. Always lay the load bars across the supports, never parallel to them.
- Molded gratings carry load in both directions, so they suit areas where supports run both ways or panels must be cut around pipes and vessels.
The hardware: which clip does what
- M-clip (hold-down clip): fixes a molded grating panel down to the support beam beneath. Ordering code ASMGC-38. M-clips are made to fit 25, 30, 38 and 50 mm molded gratings.
- C-clamp (panel connector) for molded gratings: joins two adjacent molded panels so their edges stay level and deflect together, with no trip edge at the joint. Ordering code ASMGC-C-25/38.
- C-clip for pultruded gratings: fixes a pultruded panel to the support structure. Ordering code ASPGC-I-00.
- Pultruded grating clamp: joins two adjacent pultruded panels. Ordering code ASPGC-I-01.
- G-clamp: hooks around the flange of the support beam, so panels can be fixed without drilling or welding the steelwork.
Clips are made in SS 316 (marine grade), with SS 304 available on request. Each set includes M8/M10 hex bolts, lock nuts, flat washers and saddle clips. Full details are on the grating clamps and fasteners page.
How many clips do you need?
Use a minimum of 4 clips per standard panel, or about 4–6 clips per square metre. That keeps panels from shifting, lifting or rattling under foot traffic and vibration. Add connector clamps along every joint between adjacent panels.
Step-by-step installation
- 1. Lay out the panels on the supports and check the fit before fixing anything. Leave small, even gaps between panels.
- 2. Cut panels to fit where needed, around columns, pipes and vessels. Cut molded gratings with a fine-tooth or abrasive blade, wearing a dust mask, gloves and eye protection.
- 3. Seal cut edges with a coat of matching resin, so the exposed glass fibres at the cut are protected in chemical or wet areas.
- 4. Fix hold-down clips at the panel corners and along the supports, at least 4 per panel.
- 5. Fit connector clamps along joints between panels so adjacent edges stay flush.
- 6. Tighten evenly so the panel is held firmly without crushing the bars.
- 7. Walk the whole area to check for any rocking panels or raised edges, and fix them before handing over.
Know the load rules
- Pedestrian walkways are typically designed for 250–300 kg/m².
- For comfort underfoot, keep deflection to the lesser of 10 mm or span ÷ 125. For a firmer feel, use the lesser of 6 mm or span ÷ 200.
- Load tables are for static loads at ambient temperature. For impact or moving loads, use no more than half the table value.
- Long-term loads add creep deflection, and high temperatures reduce capacity. Check with our technical team.
See the load tables on the molded FRP gratings and pultruded GRP gratings pages.
Inspection and maintenance
- Check clips periodically, especially in areas with vibration or vehicle traffic, and re-tighten any that have loosened.
- Replace any missing clips straight away. A panel with missing clips can lift or slide.
- Clean gratings with water and a mild detergent. Gritted surfaces can be pressure-washed.
Need help choosing panels and clips for your platform? Send the clear spans, panel layout and what the area is exposed to. See also FRP vs steel gratings and the FRP grating price list.